Introduction
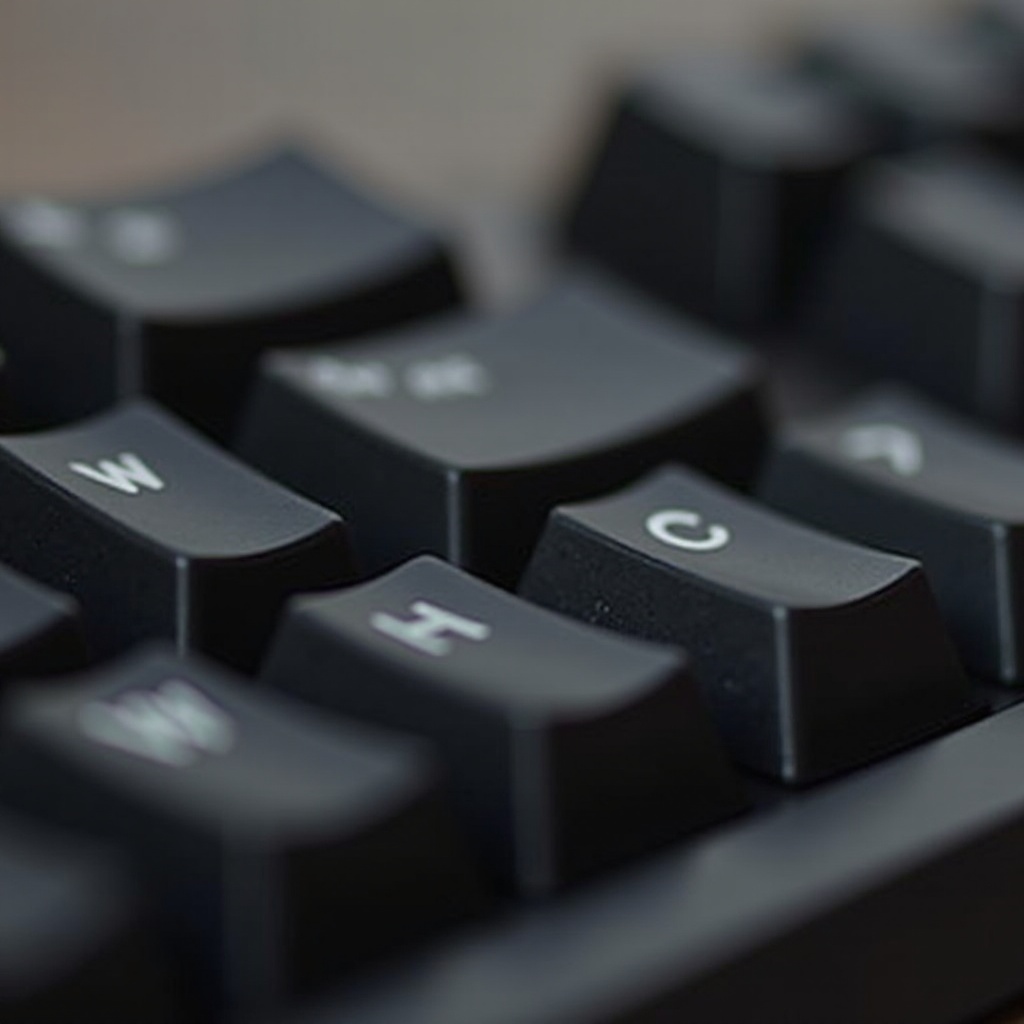
Experiencing issues with the W key on your mechanical keyboard can be disruptive, especially for gamers and typists who rely heavily on this key. This guide walks you through simple yet effective steps to restore the functionality of your mechanical keyboard, addressing both mechanical and software-related issues.
Identifying the Problem
Before attempting any fixes, take a moment to pinpoint the exact cause of your W key malfunction. Begin by examining the keyboard for physical faults and testing its basic functionality to clarify whether the issue is mechanical or software-related.
- Visual Inspection of Keyboard Components: Start by checking the keyboard for any visible damage or obstructions that might be affecting the W key. Look to see if the key is physically stuck or if there are debris and foreign objects beneath it.
- Basic Functionality Tests: Test the W key by pressing it gently and seeing if it registers a response on your computer. It is also a good idea to test it with a different keyboard to isolate the issue.
Now that you have identified potential starting points, proceed to address potential mechanical causes.
Mechanical Causes of a Non-Responsive W Key
Mechanical keyboards, while robust, can suffer from certain physical problems over time. Check to see if your W key is suffering due to debris accumulation or switch wear.
- Debris and Dust Buildup: Dust and small debris are common culprits in causing mechanical keys to malfunction. Dirty switches can prevent the W key from making electric contact.
- Wear and Tear on Key Switches: Over time, the mechanical switches may wear out from extensive use, especially keys frequently used in gaming.
After understanding these issues, an effective cleaning routine can help resolve many of these mechanical problems.

Cleaning Your Mechanical Keyboard
A thorough cleaning can often resolve mechanical issues, restoring your W key to working order. Follow these steps to clean your keyboard effectively:
- Necessary Tools and Equipment: Gather a keycap puller, can of compressed air, microfiber cloth, and isopropyl alcohol.
- Step-by-Step Cleaning Process:
- Unplug the keyboard to prevent electric shock.
- Use the keycap puller to remove the W key.
- Spray compressed air to remove debris from the switch housing.
- Use the microfiber cloth dipped in isopropyl alcohol to clean the keycap and area around the switch carefully.
- Make sure everything is dry before reattaching the keycap.
Cleaning helps maintain a consistent performance and longevity of your keyboard switches. Let’s also consider software adjustments that may improve the situation.
Software Solutions for Keyboard Woes
Sometimes, software settings can interfere with keyboard functionality. Addressing these issues involves updating drivers and using diagnostic tools.
- Updating Keyboard Drivers: Checking for and installing the latest drivers can solve various issues. Open your computer’s device manager, locate your keyboard, and update the drivers if necessary.
- Running Keyboard Diagnostics: Most operating systems have tools to help diagnose keyboard problems. Windows users can run the Keyboard Troubleshooter, while Mac users can check their preferences under keyboard settings.
These software steps coupled with cleaning can often restore key functionality. If the issue persists, consider switch replacement.
Replacing Faulty Key Switches
If cleaning and software adjustments do not resolve the issue, you may need to replace the faulty switch on your keyboard.
- Identifying If Replacement Is Needed: If swapping keycaps or testing the switch on different keys confirms the problem, replace the switch.
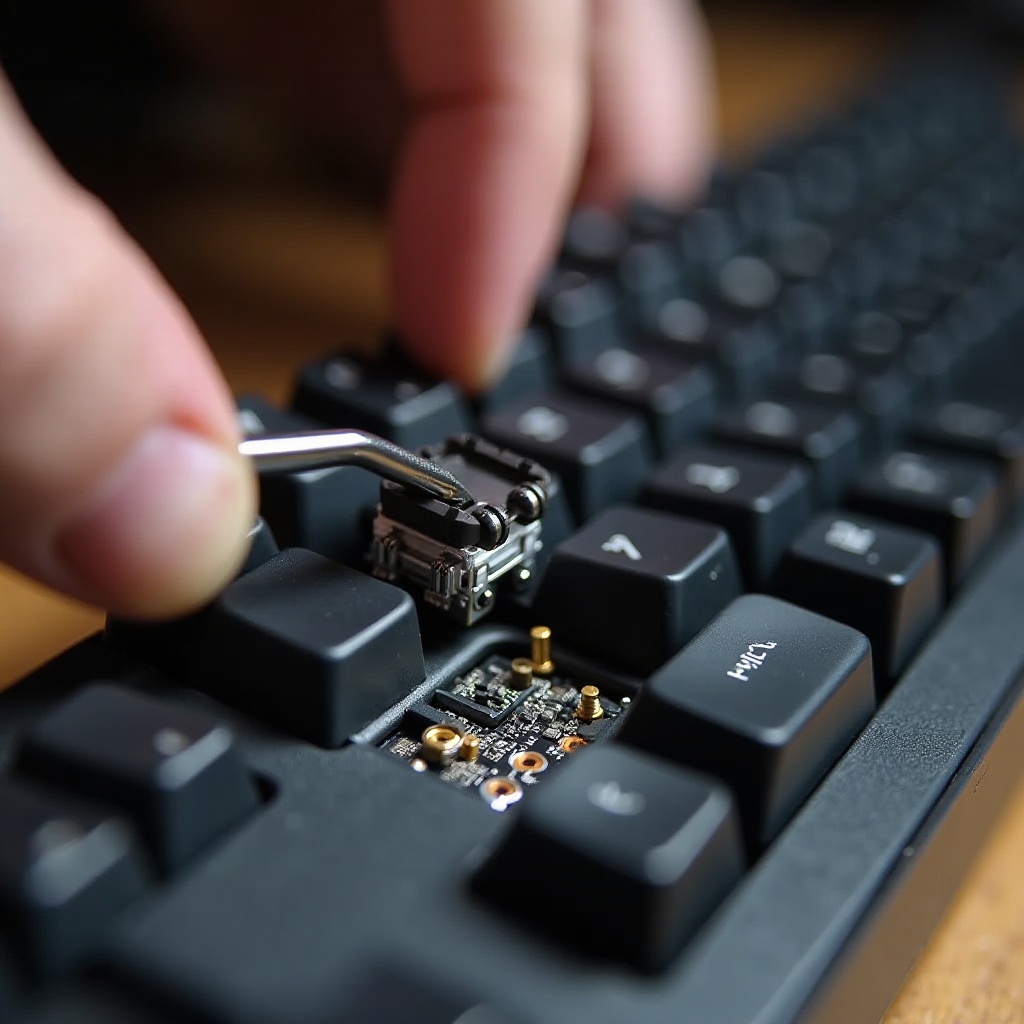
- Guide to Replacing Key Switches:
- Obtain a compatible replacement switch.
- Carefully unsolder the faulty switch.
- Install the new switch and solder it securely in place.
Replacing switches can be a bit complex but ensures that your keyboard functions like new. Finally, let us discuss preventative measures to avoid reoccurrence of these problems.
Preventative Tips to Maintain Keyboard Health
Consistent keyboard maintenance will reduce the occurrence of future issues. Apply these tips regularly:
- Routine Cleaning Practices: Make it a habit to clean your keyboard monthly. Remove keycaps and run compressed air through difficult-to-reach places.
- Proactive Monitoring for Issues: Regularly check your keyboard for any minor issues and address them immediately to prevent worsening.
Following these preventative measures ensures your keyboard remains in top working condition.
When to Seek Professional Help
For particularly stubborn issues or when you’re uncomfortable with DIY repairs, professional assistance can be crucial. Certified repair services can diagnose and fix complex problems without risking further damage.
Conclusion
Resolving a non-responsive W key involves a mix of mechanical cleaning, software updates, and in some cases, replacing faulty components. By systematically identifying the problem’s cause and addressing each potential issue, you can restore your keyboard’s functionality efficiently. Regular maintenance ensures longevity, keeping your device reliable and responsive.
Frequently Asked Questions
How often should I clean my mechanical keyboard?
Regular cleaning once a month is recommended to prevent debris buildup and ensure optimal performance.
Can software issues cause key malfunctions?
Yes, software conflicts, outdated drivers, or incorrect system settings can lead to key malfunctions. Regular updates are crucial.
How can I tell if my key switch needs replacing?
If swapping the unresponsive switch with a working one doesn’t solve the issue, the original switch likely needs replacing.