Introduction
Removing a keyboard switch is an essential task for enthusiasts who enjoy customizing or need to fix their keyboards. Whether you’re aiming to try out new switches, correct sticky keys, or simply want to clean your device, understanding how to remove a keyboard switch is a valuable skill. This task becomes effortless when equipped with the right knowledge and tools. In this guide, we will walk you through each step, ensuring you can remove your keyboard switches confidently and without any hassle.
Understanding Keyboard Switch Types
Before getting to the actual removal, it’s crucial to identify the type of switches in your keyboard. Mechanical and membrane switches are the two main types you’ll encounter, each with distinct characteristics and removal methods.
Mechanical switches are individual units, offering tactile feedback and longevity, making them popular in gaming and performance keyboards. Brands like Cherry MX and Gateron dominate this category. On the other hand, membrane switches, commonly found in budget keyboards, require careful handling due to their integrated design.
Knowing your switch type is crucial for selecting the right tools and applying the proper technique for removal.
Preparing for Switch Removal
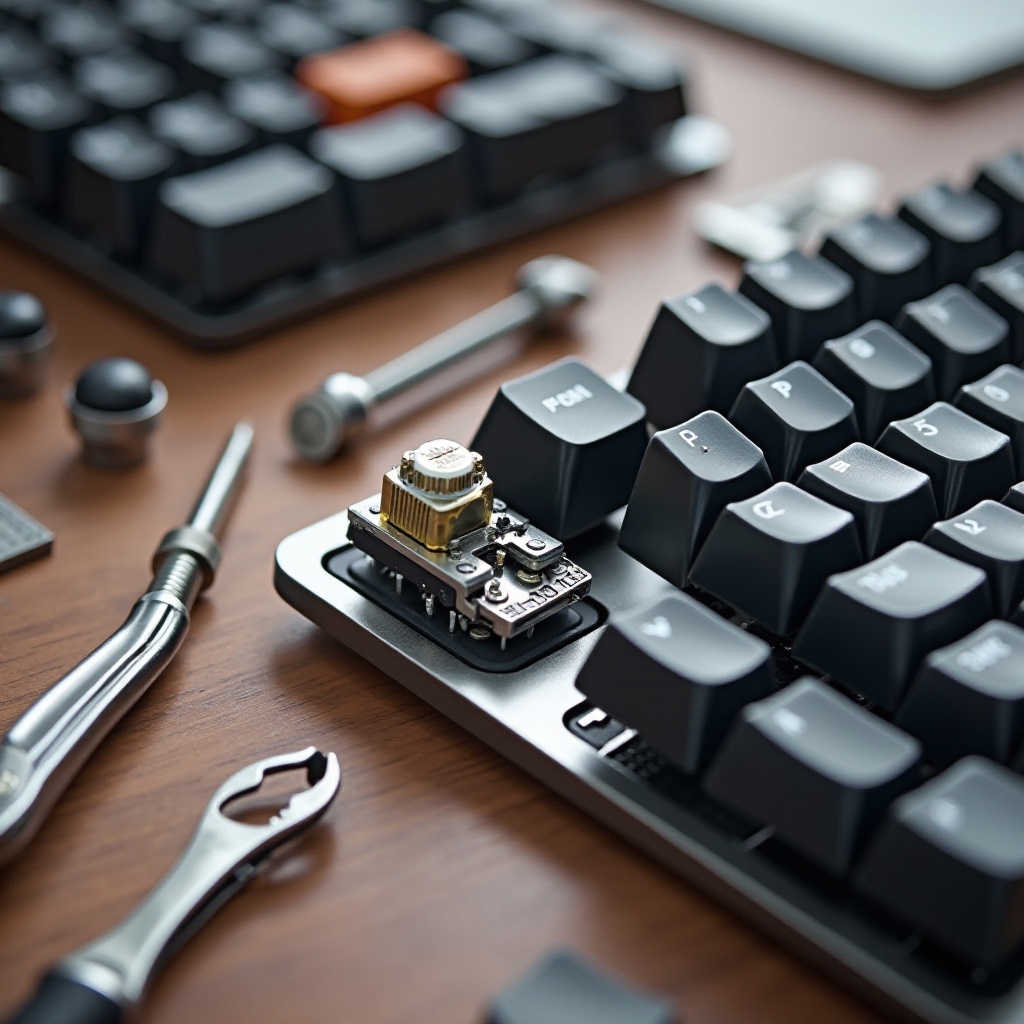
Preparation is critical for a successful switch removal. Begin by assembling necessary tools. Ensure you have the following:
- A keycap puller for detaching keycaps
- A switch puller for removing the actual switch
- A flat, clean work surface to prevent loss of small components
- A small container to store removed switches
Always prioritize safety. Ensure the keyboard is unplugged before beginning. Utilize a static wrist strap to prevent static electricity from damaging sensitive electronics. Arrange your workspace to be well-lit with enough room for tools and removed components, ensuring an organized workflow.
Step-by-Step Guide to Removing Keyboard Switches
Here is a detailed step-by-step guide for easy switch removal:
- Removing Keycaps:
-
Use the keycap puller to gently remove the keycaps. Place the puller on the keycap, applying light upward force until it pops off. Be cautious not to use excessive force to avoid damage.
-
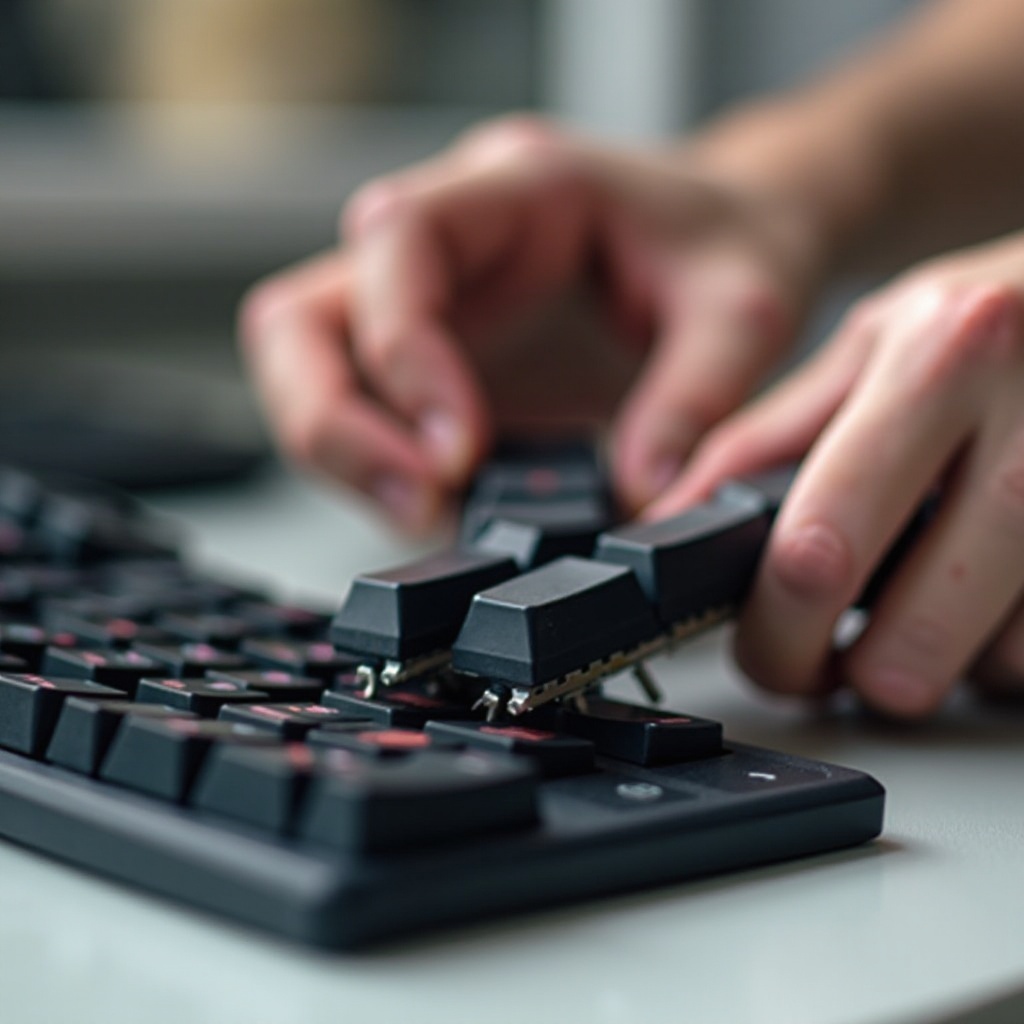
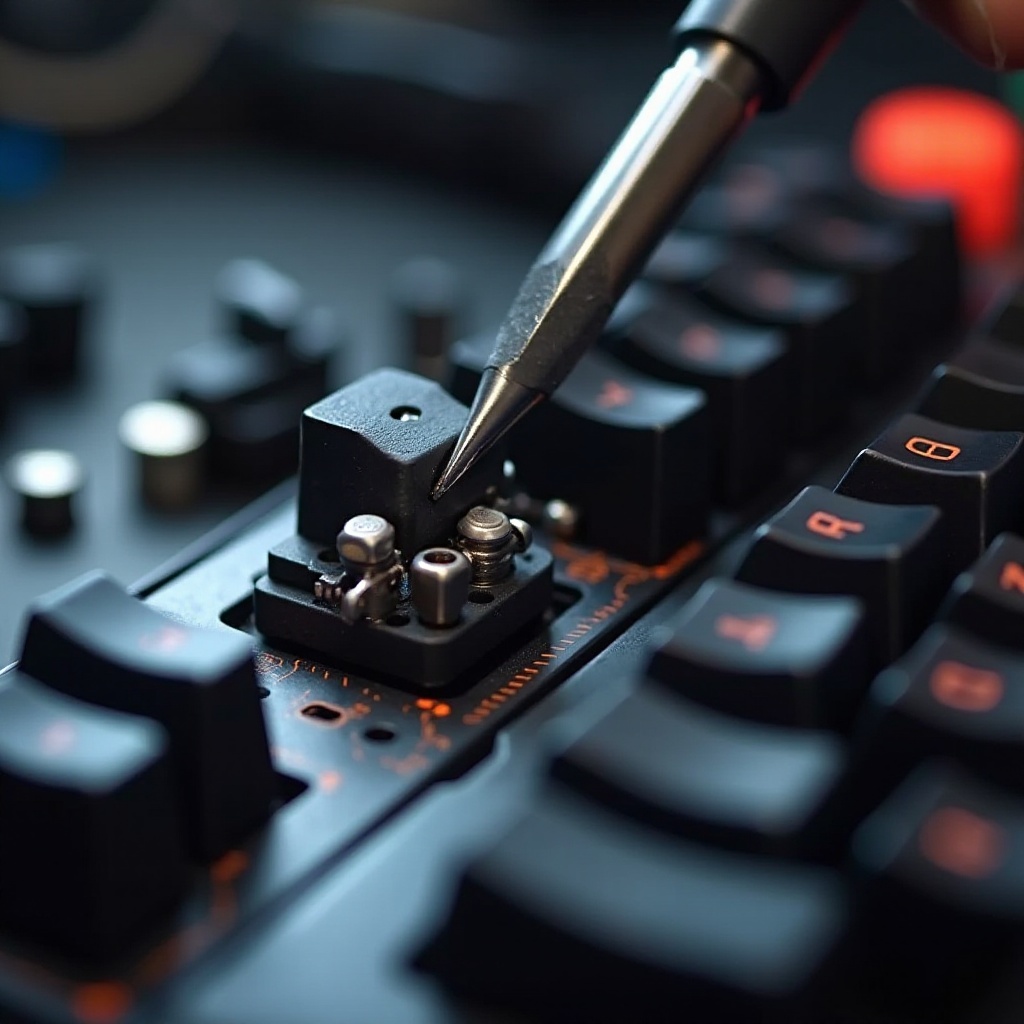
Detaching the Switch:
-
After removing the keycaps, use the switch puller to disengage the switch. Place the puller tabs into the slots on either side of the switch, slightly squeeze, and gently pull the switch upwards. It should release smoothly without much resistance.
-
Tips for Difficult Switches:
- If a switch is resistant, ensure the clips are fully disengaged and realign the puller for better grip. Apply gentle pressure and wiggling can also aid in freeing a stubborn switch.
By meticulously following these steps, you can easily and safely remove the switches without causing damage to your keyboard or the switches themselves.
Troubleshooting Common Issues
During the switch removal process, you may encounter issues with stuck or damaged switches. For switches that won’t budge, check that the clips are fully depressed. Misalignment may call for repositioning the puller to achieve a better grip.
In the case of damaged switches, replacement is often the best option. Keeping a supply of spare switches is advisable, ensuring your keyboard remains functional without prolonged downtime.
Post-Removal Care and Maintenance
Once you’ve removed the switches, focus on cleaning and maintaining your keyboard. Use a can of compressed air to blow away debris or dust trapped inside. For deeper cleaning, use a microfiber cloth slightly dampened with isopropyl alcohol to carefully wipe down all surfaces.
Proper storage of removed switches is essential to prevent loss and damage. Store them in a small, compartmentalized container. By maintaining your keyboard correctly, you can significantly extend its lifespan and ensure optimal performance.
Advanced Tips for Switch Modding
Having mastered switch removal, you can explore advanced keyboard modding. Replacing switches is a great way to customize the feel and sound of your keyboard. Ensure new switches are compatible with your keyboard’s PCB to avoid operational issues. Testing switches individually before installation can save time and frustration.
For those interested in further customization, numerous online communities and forums provide an abundance of resources, how-tos, and advice from other enthusiasts eager to share their expertise.
Conclusion
By following this comprehensive guide on how to take a keyboard switch out, you’ve gained the skills required to manage this task with confidence. Whether maintaining, cleaning, or customizing your keyboard, these techniques ensure a more personalized and efficient experience. Dive into the world of keyboard modding and relish the endless possibilities it offers.
Frequently Asked Questions
Can I remove switches from any keyboard?
Most mechanical keyboards allow for switch removal, but membrane keyboards typically do not. Always verify your keyboard’s specifications before attempting removal.
What if my switch doesn’t come out easily?
Ensure you are using the proper technique and tools. If the switch is still stuck, check for clip obstructions and adjust the puller’s grip.
How often should I clean my keyboard switches?
Regular cleaning every few months is recommended, or immediately if you notice performance issues or persistent grime.